How to Build a Wagtail Website
Why Build Websites This Way
A full-stack website, which integrates both front-end (user interface) and back-end (server and database) components, offers a comprehensive solution that streamlines development, ensures consistency in design and functionality, and enhances communication between different parts of the web application.
This holistic approach not only accelerates the development process by allowing simultaneous progress on user-facing features and server-side logic but also simplifies maintenance and scalability.
As developers have control over the entire system architecture, they can implement features more efficiently and ensure that all elements work seamlessly together, providing a smoother user experience and improving overall performance and security.
Note: This walkthrough uses Wagtail 6.2 on Windows.
What is Django?
 Django is a powerful tool used by web developers to build websites quickly and efficiently, developed with Python. It allows developers to focus on creating a unique and functional website without reinventing the wheel for each new project.
What is Wagtail?
Wagtail, is an add-on for Django that makes it easier to manage the content of a website. It provides a user-friendly interface where editors can easily modify and organize their website.
Continue reading this guide to learn more!
Getting Started
Local Development Environment
- Install PyCharm Community Edition (Download)
- Install Python (Download)
- Install Docker (Download) & Sign-up (Account)
- Install Git (Download)
Project Creation
- Open PyCharm
- Create a new project
- Set the project location, if not already default
- Give it a Project Name
- Choose "Create a Git repository"
- Set the project virtual environment (venv) to Python 3.12 (current as of 6/15/24)
- Click the "Create" button
- Open the PyCharm Terminal panel and set Git info:
git config user.email "your@email.com"
Watch & Learn
New Wagtail Website
- Install Wagtail: pip install wagtail
- Note, if you need to install 6.2 specifically, use pip install wagtail==6.2
- Note, if you may need to update pip or clear the cache
- Start Wagtail site: wagtail start [site-name]
- Change directories to new wagtail site: cd [site-name]
- Make database migrations: python manage.py makemigrations
- Run database migration: python manage.py migrate
- Create super user: python manage.py createsuperuser
- Provide a username, email, and password
- Run website for the first time: python manage.py runserver
- Test your website at 127.0.0.1:8000
- Stop the server process by typing CTRL+C in the PyCharm Terminal.
Save Your Work!
Add recent updates to your Git Repo:
git add . then git commit -m "New Wagtail Website"
Extend Data Models
Why use custom data models? By extending data models, you can easily add custom fields to your user authentication, images or documents (e.g., source, information, or type). Extending from the beginning gives you flexibility without altering the core features of Django. This is particularly useful if your application evolves and you need to store more information about your data objects.
Note, delete the initial db.sqlite3 file as we'll migrate again with custom models.
Custom User Model
(Django for Professionals, Page 56 and Wagtail Docs)
- Create accounts app: python manage.py startapp accounts
- Add code to /accounts/models.py
- Update [site-name]/settings/base.py
- Add "accounts" to INSTALLED_APPS above "wagtail.users"
- Add AUTH_USER_MODEL = "accounts.CustomUser" below INSTALLED_APPS
- Add DEFAULT_AUTO_FIELD = 'django.db.models.BigAutoField' below AUTH_USER_MODEL
- Make database migrations: python manage.py makemigrations
- Note, this will recreate the db.sqlite3 file that we deleted earlier.
- Now migrate with: python manage.py migrate
- Create the custom user admin form here: /accounts/forms.py - then add the custom classes.
- Update configuration here: /accounts/apps.py
- Update custom user admin here: /accounts/admin.py
- Add more custom fields, for example Bio text:
- Update /accounts/models.py with new bio_text TextField
- Update /accounts/forms.py with new bio_text field
- Update /accounts/admin.py with new bio_text fieldset
- Add /accounts/viewsets.py with ViewSet code.
- Extend the Wagtail Create and Edit templates.
- Create /accounts/templates/accounts/edit.html and /accounts/templates/accounts/create.html
- Add extra_fields block for the new custom fields, like Country.
- Make database migrations: python manage.py makemigrations
- Run database migration: python manage.py migrate
- Run and test the local website again.
Save Your Work!
Add recent updates to your Git Repo:
git add . then git commit -m "Custom User Model"
Custom Image Model
(Wagtail Docs)
- Create images app: python manage.py startapp images
- Update /images/models.py with custom classes.
- Add the images app to INSTALLED_APPS within /settings/base.py: "images"
- Then set the WAGTAILIMAGES_IMAGE_MODEL setting to point to it by placing the following code in your /settings/base.py configuration:
WAGTAILIMAGES_IMAGE_MODEL = 'images.CustomImage' - Make database migrations: python manage.py makemigrations
- Run database migration: python manage.py migrate
- Run and test the local website again, then Save Your Work if successful.
Custom Document Model
(Wagtail Docs)
- Create documents app: python manage.py startapp documents
- Update /documents/models.py with custom classes.
- Add the images app to INSTALLED_APPS within /settings/base.py: "documents"
- Then set the WAGTAILDOCS_DOCUMENT_MODEL setting to point to it by placing the following code in your /settings/base.py configuration:
WAGTAILDOCS_DOCUMENT_MODEL = 'documents.CustomDocument' - Make database migrations: python manage.py makemigrations
- Make database migrations: python manage.py migrate
- Run and test the local website again, then Save Your Work if successful.
Code Snippets
Other Settings
- PIP
- pip install environs
- pip freeze > requirements.txt
- Settings
- Base.py
- Django Private Key
- dev.py
- Database
- Heroku postgres plan
- DATABASE_URL Config Var is set under Settings
- production.py
- Django Settings
- “DATABASES”
- Dj_db_url package
- “ALLOWED_HOSTS”
- Debug True/False
Next: Docker Configuration
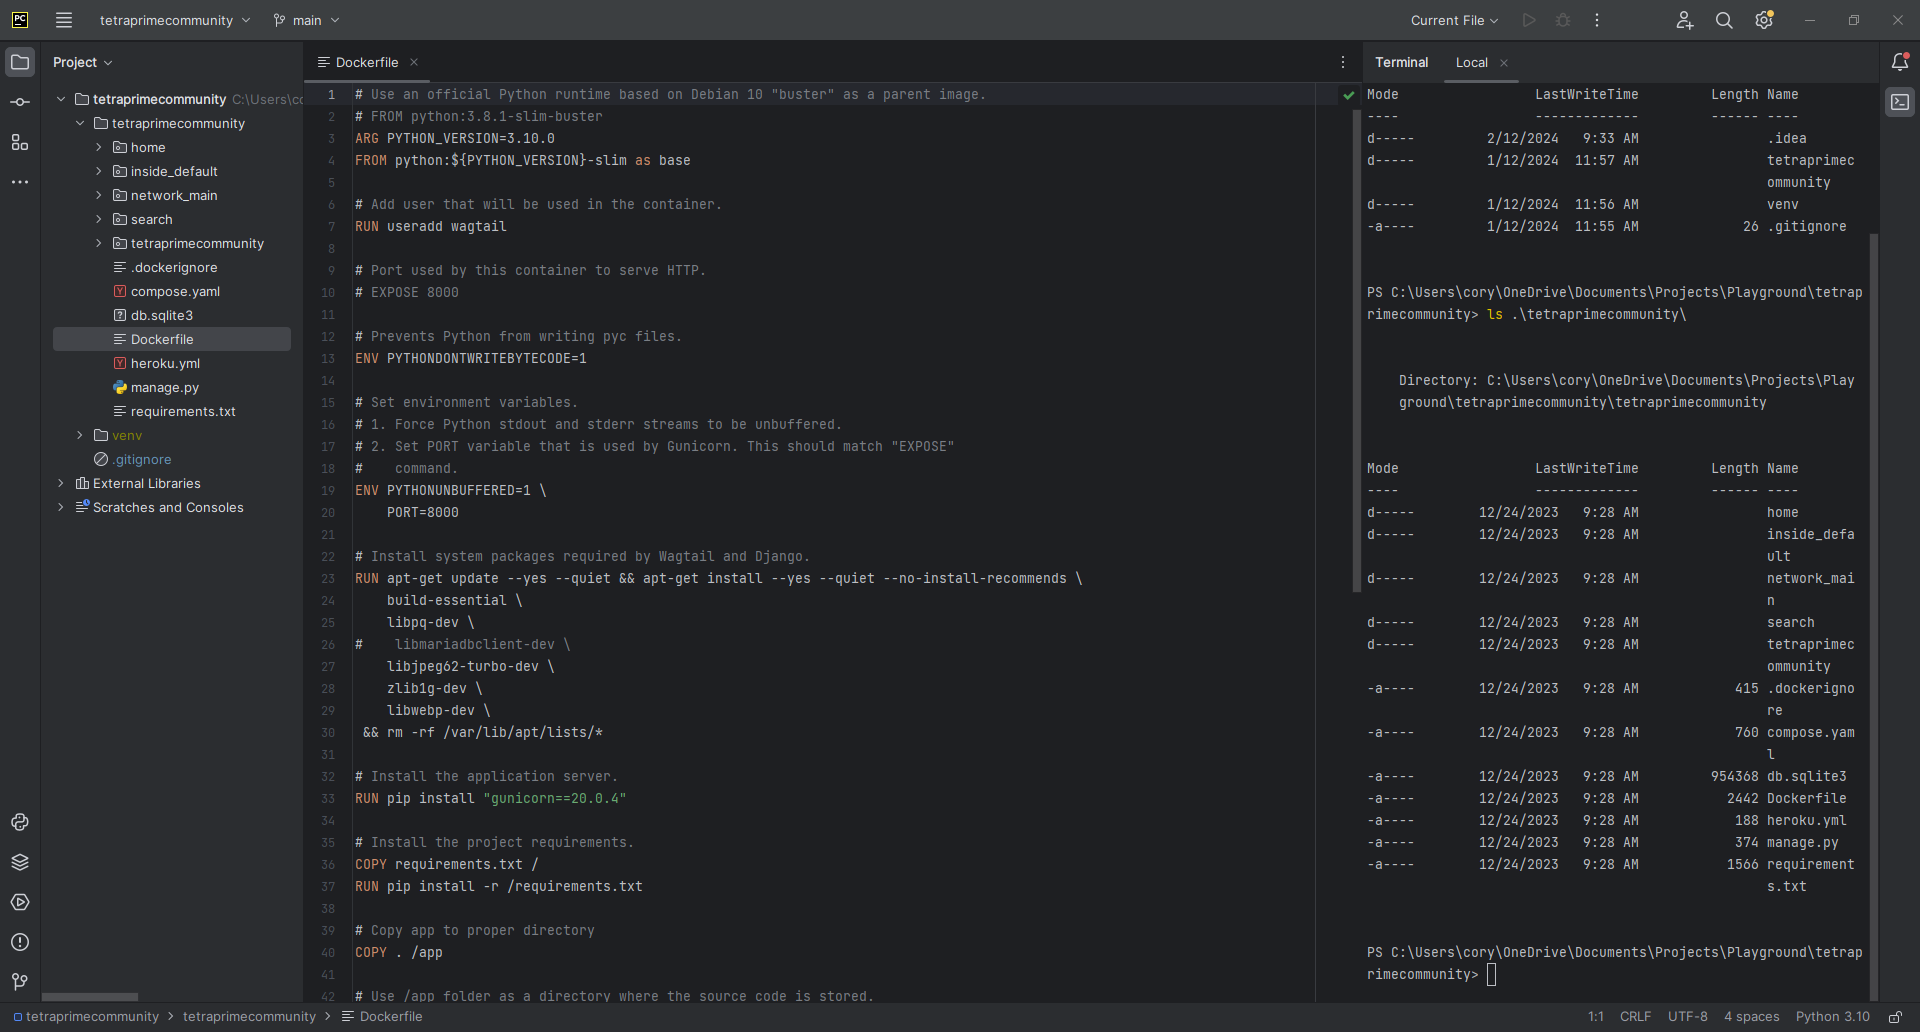
Docker Configuration
What is a Dockerfile? It defines the instructions for creating a Docker image, specifying the environment, dependencies, and configuration needed to run an application.
- Open the Docker desktop app
- Open the PyCharm Terminal panel and run the docker ps command to ensure that Docker is running. Typically, you should see no processes running.
- Update the Dockerfile with:
- Match the local Python 3.12 virtual environment (venv) by updating line 2 with:
FROM python:3.12-slim - Update line 22 to an updated package name with:
libmariadb-dev \
- Match the local Python 3.12 virtual environment (venv) by updating line 2 with:
- Create the docker-compose.yml configuration file. (Django for Professionals, Page 39)
- This file tells Docker how to run the app, database, and other parts. Instead of starting each one by one, you can start everything at once and keep everything organized and working together correctly.
- Create a new file and name it docker-compose.yml then copy/paste in the provided snippet.
- Before first time run needs to build the docker image with:
docker compose build - If the build runs without errors, run your website for the first time with:
docker compose up -d - Test your website at http://127.0.0.1:8000
- Note: Why doesn't http://0.0.0.0:8000/ work? The server suggests `http://0.0.0.0:8000/` because `0.0.0.0` tells the server to listen on all interfaces inside the container. However, `0.0.0.0` is not a valid address for a browser to connect to; it’s just a placeholder. From your host machine, you should use `http://127.0.0.1:8000` or `http://localhost:8000` because that maps to the server through Docker's port forwarding.
- Migrate the database within the Docker container:
docker compose exec web python manage.py migrate - Create a new Super User within the Docker container:
docker compose exec web python manage.py createsuperuser - Reload the website in your browser to ensure that it's still serving.
- Navigate to the Admin section of your website at http://127.0.0.1:8000/admin/ and log in using the super user credentials you just created.
Save Your Work!
Add recent updates to your Git Repo:
git add . then git commit -m "Docker configuration"
What is Docker?
 Docker is a platform that enables developers to automate the deployment of applications inside lightweight, portable containers that package code along with all its dependencies.
Code Snippets
Customize Wagtail Home Page
Note: this can be done without adding a CSS framework.
- Locate and open [site-name]/home/templates/home/home_page.html
- Within the same directory (/home/), create a new html file named custom_page.html
- In home_page.html, locate the line that contains: {% include 'home/welcome_page.html' %} and update it to reflect the new file name with: {% include 'home/custom_page.html' %}
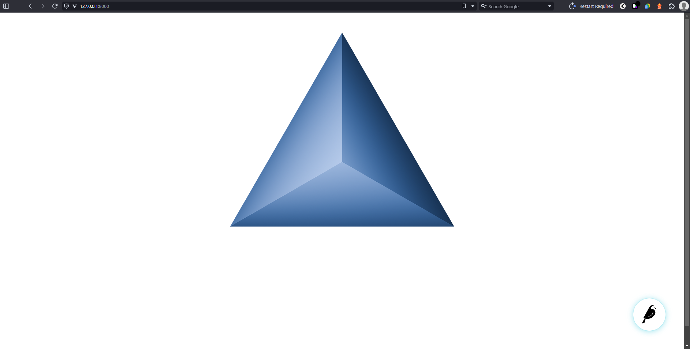
- If your website isn't already running, start it and then refresh your browser. You should see a blank page, awaiting your custom template and content!
Upload an image to Wagtail
- Download the Tetra Prime logo (or use an image of your own)
- Navigate to the Admin section of your website at http://127.0.0.1:8000/admin/
- In the left hand navigation, click on the Images menu.
- At the top of the Images page, click on "Add an image"
- Select an image from your local computer to upload it.
- Once the upload is complete, you'll see a thumbnail of the image, plus fields for Title, Tags, and Caption; feel free to add content to these for testing.
- Next, add this image to your blank custom_page.html by pasting the code below into it.
- Copy your uploaded image's URL by clicking on the Images menu in Wagtail Admin, then click the thumbnail of the desired image, and finally copy the URL from the link within the File section.
- Note: if you used the Tetra Prime logo image, then the code below should work as-is.
<style>
main img { display: block; margin: 2rem auto; max-width: 400px; }
</style>
<main>
<img src="/media/images/TPC_Logo__--v1_--1K.original.png" loading="lazy">
</main>
</code>

Right-click & download this image
Example Wagtail home page:
Adding a CSS Framework
What is a CSS Framework? It's a library of CSS code that helps streamline web design by providing ready-to-use styles, layouts, and components, making it easier and faster to create responsive and consistent user interfaces.
- Download Bootstrap 5 (Download)
- Unzip the download into your project's static files directory, located in [site-name]/static/lib/
- Note: the lib/ directory has been manually created to organize third party libraries.
- Add the Bootstrap CSS and JS references to your [site-name]/templates/base.html file:
Place above "{# Global stylesheets #}":
<link href="{% static 'lib/bootstrap-5.3.3-dist/css/bootstrap.min.css' %}" rel="stylesheet">
and,
Place above "{# Global javascript #}":
<script src="{% static 'lib/bootstrap-5.3.3-dist/js/bootstrap.bundle.min.js' %}"></script> - Run and test the local website again, then Save Your Work if successful.
- Continue to update your homepage template by continuing reading below.
Customize the Home Page
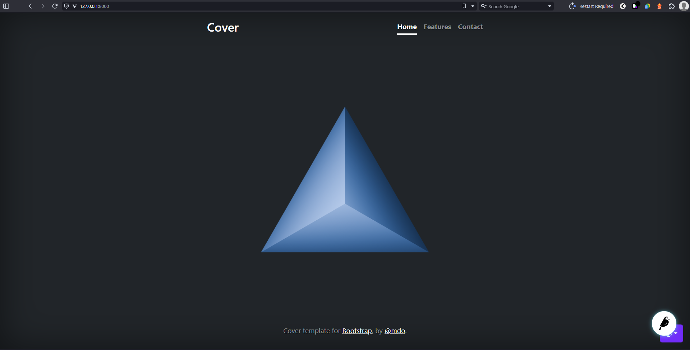
- Start by selecting a template from the Bootstrap Examples page. In our example below, we'll use the Cover Template.
- While on the Bootstrap Example Template page, view the page's HTML source code by either typing Ctrl+U or right-click and choose View Page Source.
- From the source code, copy all of the HTML between the <body> tags and paste it below the existing HTML in your custom_page.html
- Next, copy/paste your previous <main> tag and its contents, over the <main> tag that exists in the Bootstrap HTML. Doing this will show the logo you uploaded to Wagtail rather than the example text from the template.
- Correct the missing CSS styles by copying the <style> tag block from the Bootstrap Example template's HTML source, then download the template's custom CSS file, in our case cover.css, to your [site-name]/static/css/ folder. (Hint: search for <!-- Custom styles for this template -->).
- Reference the template's custom CSS file from within your custom_page.html code:
<link href="{% static 'css/cover.css' %}" rel="stylesheet"> - Note: You'll need to add the {% load static %} directive to the very top of custom_page.html
- Add the additional CSS classes from the <body> tag of the Bootstrap Template by opening your home_page.html and updating the {% body_class %} block like so:
{% block body_class %}template-homepage d-flex h-100 text-center text-bg-dark{% endblock %} - Additionally, update your <html> tag in the base.html file like so:
<html lang="en" class="h-100" data-bs-theme="dark"> - Run and test the local website again, then Save Your Work if successful.
What is Bootstrap?
 A popular CSS framework that provides pre-designed components, grid layouts, and utilities to quickly create responsive and modern websites.
Deploy your website to Heroku
Coming Soon!
Next, we'll deploy our Wagtail website to a cloud host like Heroku.
Want to be notified of updates to this article?
What is Heroku?
 Heroku is a cloud platform that allows developers to build, run, and scale applications quickly by providing a fully managed environment for deploying apps without infrastructure management.
Heroku Configuration
- Create heroku.yml
- Deploy to Heroku Container Service
- … “heroku login”
- … “heroku container:login”
- … “heroku container:push web -a [app name]
- … “heroku container:release web -a [app name]
- Check app logs on Heroku
- Django commands on Heroku CLI
- … “heroku run web python manage.py migrate -a [app name]”
- … “heroku run web python manage.py createsuperuser -a [app name]”
Next: Your New Wagtail Website

Join Our Community
Get a brief notification when we improve this article or publish new ones.